App Push Notifications
Publishers can use app push notifications to broadcast a piece of breaking news while e-commerce marketers can use to it inform their users about a new product launch.
While creating a campaign, ensure that you define the following three as per the objective of the campaign
- Content / Message
- Audience selection
- Time of Push
Content
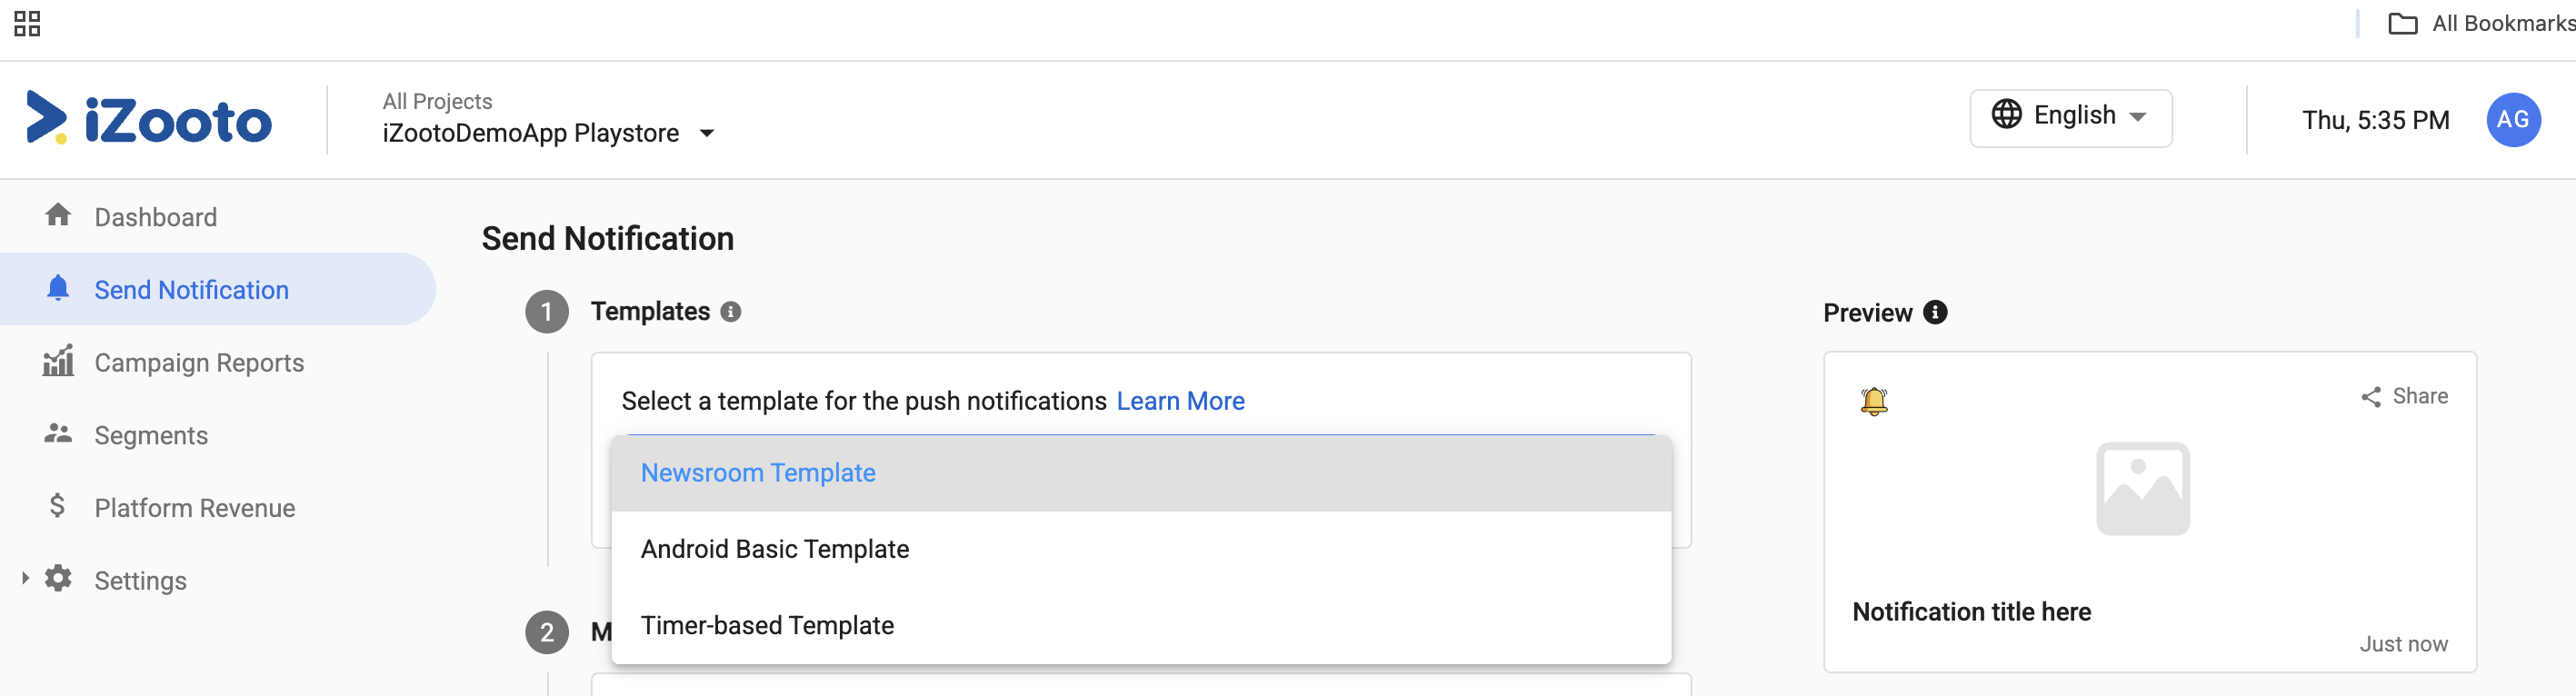
1. Templates (Android only)
Select amongst 3 available templates for Android push notifications only. Refer to our Android Push Notification Templates guide for more details.
2. Notification Content
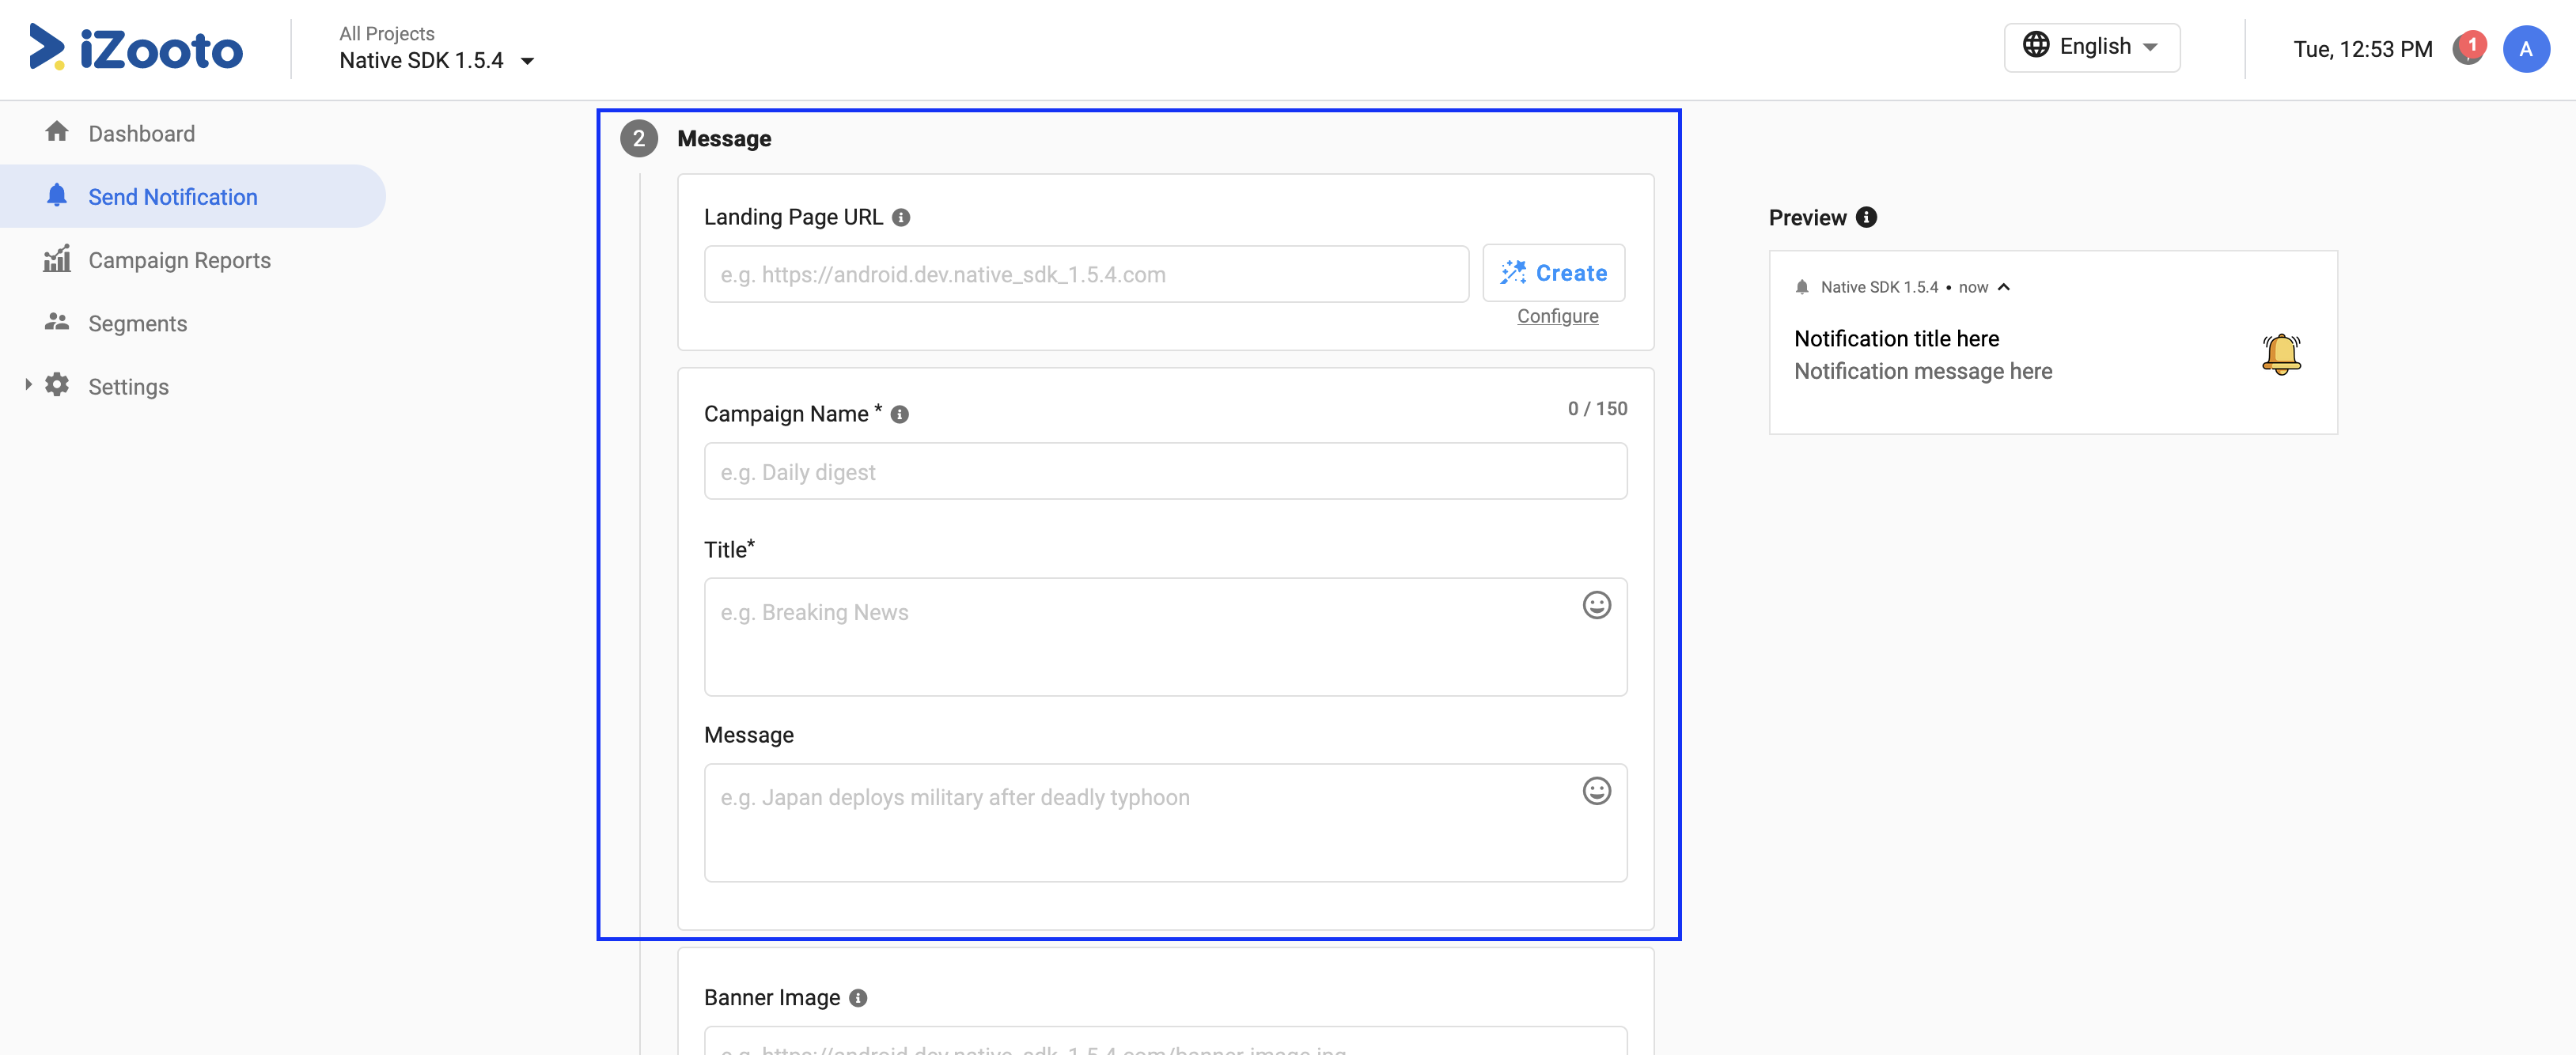
Ensure that you create a contextual message by adding an apt title and message.
You can also auto-populate the Campaign Name, Title, Message, and Banner Image for the notification by entering the Landing Page URL and clicking on Create. The Landing Page URL is the web page which the users will be redirected to after they click on the notification. The redirect can be selected between an in-app browser(WebView) or the default browser installed on the phone. If the Landing URL is not provided, then the users will be redirected to the app home page by default.
By default, the system will pick up the below tags from the article URL:
og:titlefor Campaign Name and Titleog:descriptionfor Messageog:imagefor Banner Image
These values can be configured by clicking on the Configure button. Refer to our guide on Mark-Up Options Configuration for more details.
The fetched details can be edited as per requirement. You can make your message catchy and actionable by adding additional fields such as emojis in the content, CTAs and banner images.
The default icon is a bell. Since the recall value is maximum with a brand logo, we recommend that you use a 100x100 logo which is less than 20 KB.
3. Rich Notification

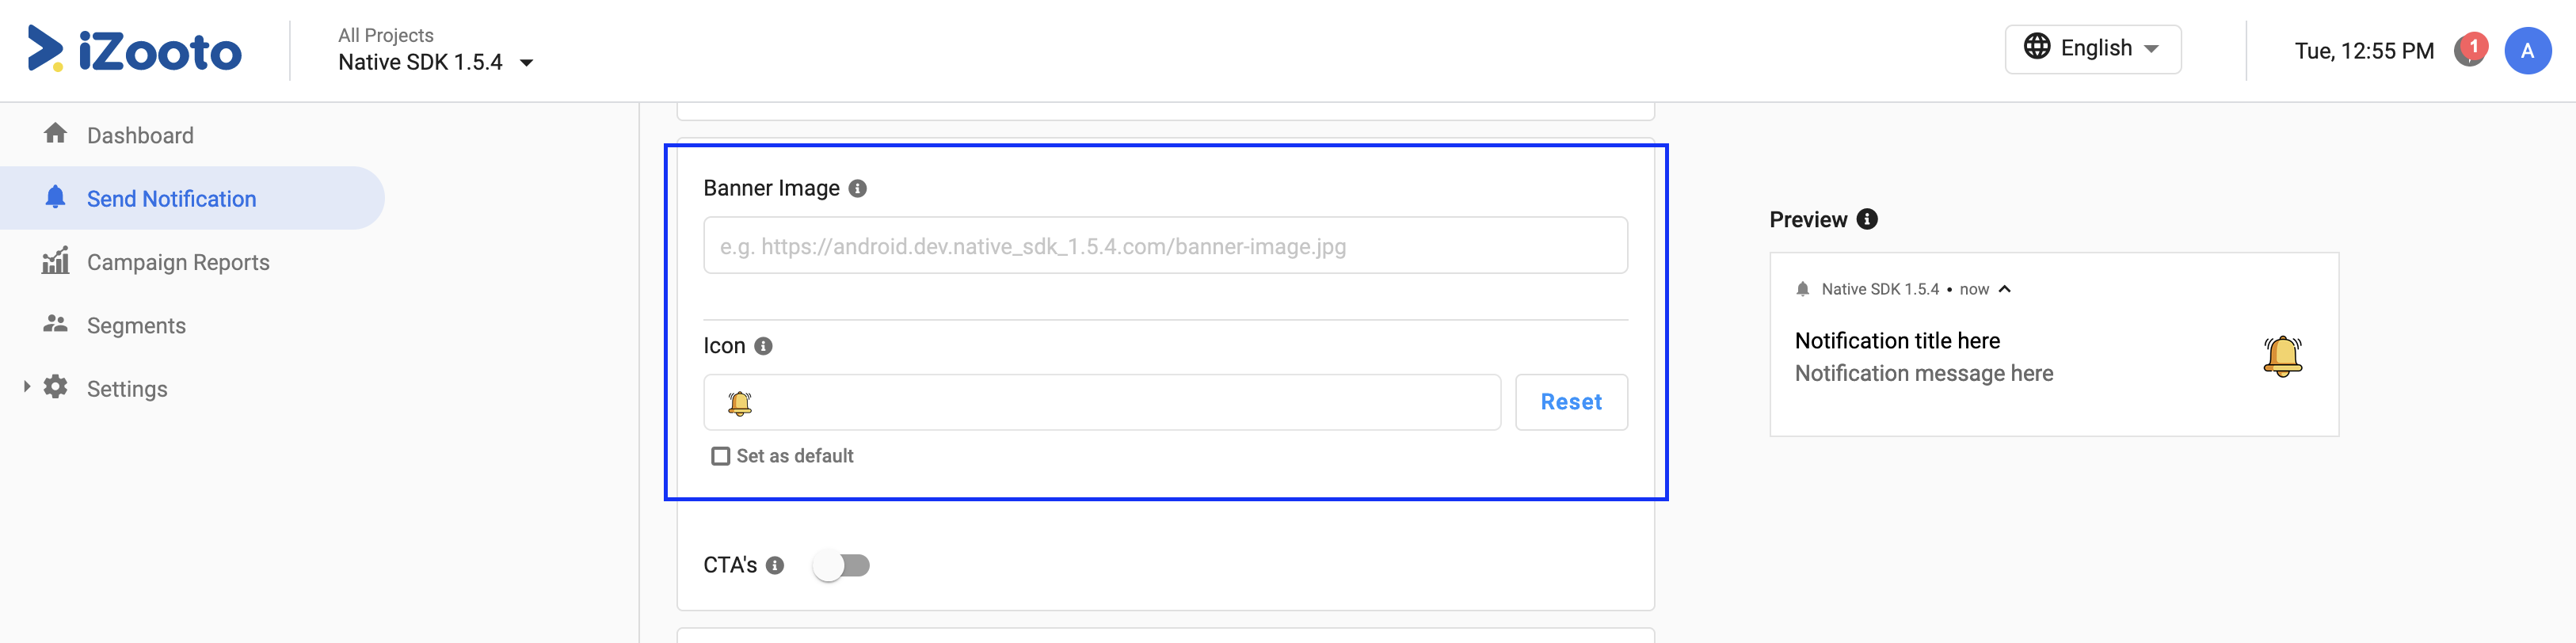
3.1. Banner Image
You can add a large image to your Android Notification to make it more catchy. The banner would always appear below the notification message (body.)
An image can be either uploaded or a URL can be defined.
If defined a URL, it must always start with https
Image uploaded from the iZooto Panel would be sent in form of a URL that is going to be downloaded locally on the device and displayed in a notification.
JPG, JPEG, PNG, BMP have full support across platforms.
| Parameters | Values |
|---|---|
| Max Size allowed from Panel | 100KB |
| Aspect Ratio | 2:1 |
| Resolution | 1440x720 |
3.2. Icon (Android Only)
For iOS a thumbnail of the banner image is shown as an icon. If no banner image is defined, there would be no icon.

The default icon is a bell. Since the recall value is maximum with a brand logo, we recommend that you use a 72x72 logo which is less than 20 KB.
3.3. CTA
These are customizable Buttons, that can be added to a notification.

Following are the attributes:
ID - A unique identifier that can be defined and read programmatically.
Title - The main title of the Button. Up to 40 characters allowed.
Landing Page URL - The URL which will be opened on click of the notification. This URL can be overridden to define deep links.
4. Additional Data

Custom key : value data pairs sent to your app through the notification.
These can be read programmatically via the Notification Received Listener and use used to invoke deep links.
Read more about Deep Links here.
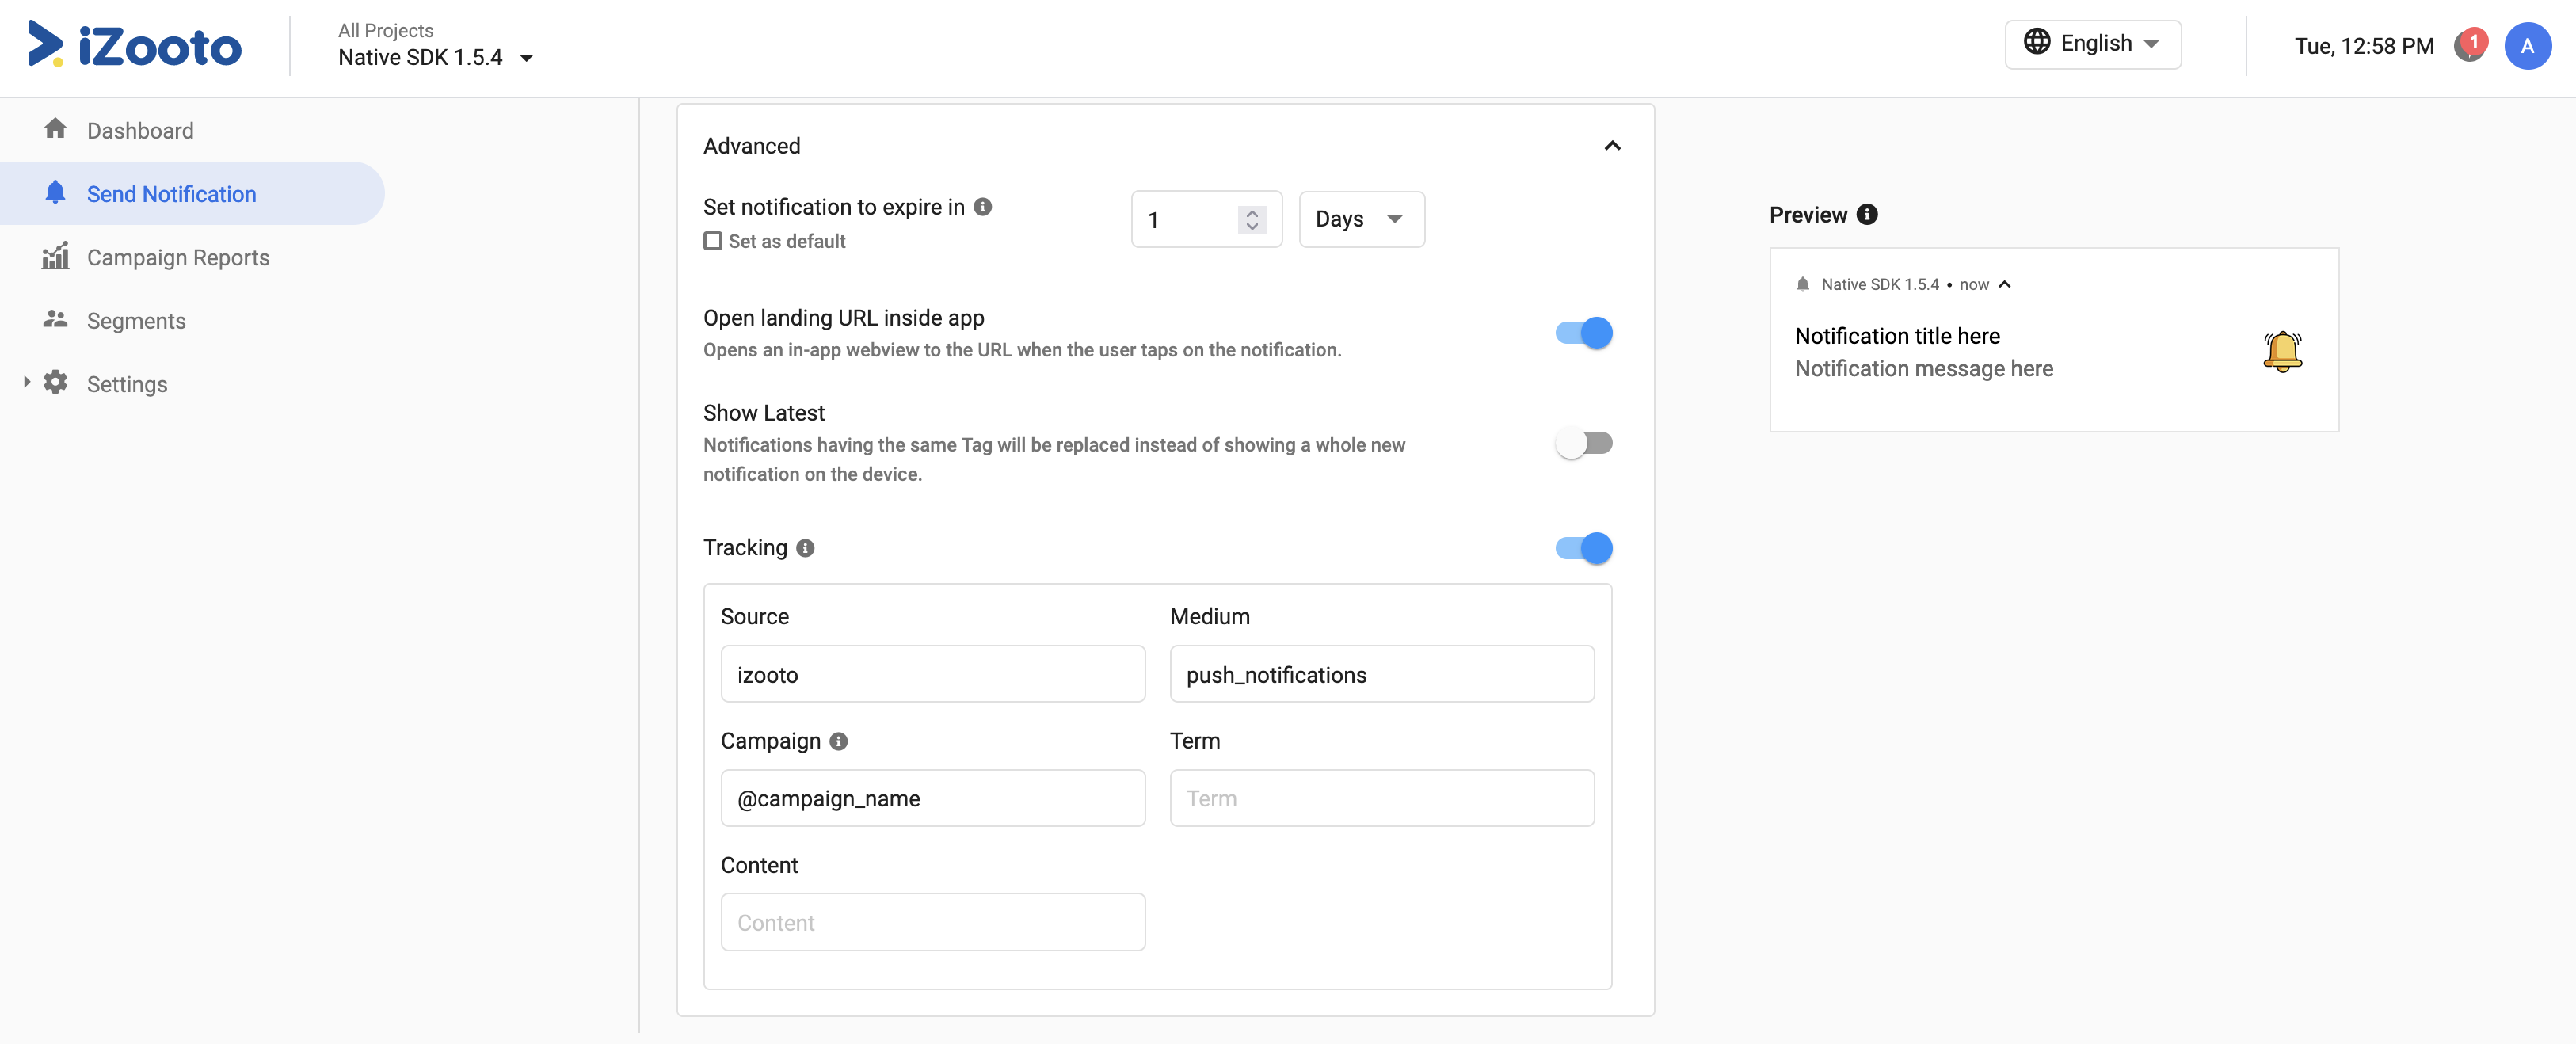
5. Advanced
5.1 Make Notifications Sticky (only available for NewsRoom & Timer template)
When enabled, the notification would stay on the device until the user interacts with it. This means that the notification will not go away if the user clears all the notifications from the notification center.
The notification will show a close button in the expanded mode (close icon in the collapsed mode) so that the user can close it manually.
5.2 TTL
This is the time for which FCM will try to deliver a particular notification.
If the notification is not delivered and the Time To Live is expired, then FCM will not attempt to deliver these notifications.
These can be especially used for time sensitive campaigns.
5.3 Open Landing URL inside app
When enabled, the landing URL(if defined) would open inside an in-app browser(WebView).
If this is disabled, the notification would open in the mobile's default browser.
Audience Selection
The audience segment to whom you wish to push the campaign needs to be selected here. Choose the correct audience from the drop-down menu. In case you have custom audiences created, you'd be able to select them too from here.
Audience Selection:
You can read more about audience selection and segmentation here
Time of Push
You can push out a campaign Immediately or Schedule it for some other time.
Send Immediately
As the name suggests, you can push out a notification as soon as you create a campaign. Publishers can use this feature to broadcast a piece of breaking news.
Scheduled Notification
Scheduling helps you to set up notifications in advance for any event you have on a particular date or multiple dates.
Know more
Know more about how to schedule a campaign here.
Updated 12 months ago