Add Test Devices to Validate Notification Delivery
You can add internal Test Devices to validate notification delivery for your app before it is made LIVE for the entire user base. This helps to test different features of the notification delivery like how the UI/UX of the notifications look on different devices, if the user is being re-directed as expected on tapping the notification, how the device settings affect notification delivery & its parameters, etc.
This document talks about how you can add your test devices to the iZooto panel and then use them to validate iZooto app push implementation and notification delivery.
Prerequisites
- The iZooto app push setup is done for your app
- You have opened the app at least once after installation (for Android 12 & below) and you have accepted the push permissions shown inside the app (for Android 13+ & iOS).
Once the above are met, follow the steps below to add test device(s) on the iZooto panel.
Step 1: Getting your Unique Device Token
Android Apps
- Enable USB Debugging for your test Android device, and connect the device to your computer.
- Within Android Studio, confirm that you are able to see the connected device.
- Open Logcat inside Android Studio, filter with
izootoand install the app on your test device. - As soon as the app is installed on your device (and if the implementation is correct), you will be able to see the Device Token for your device.
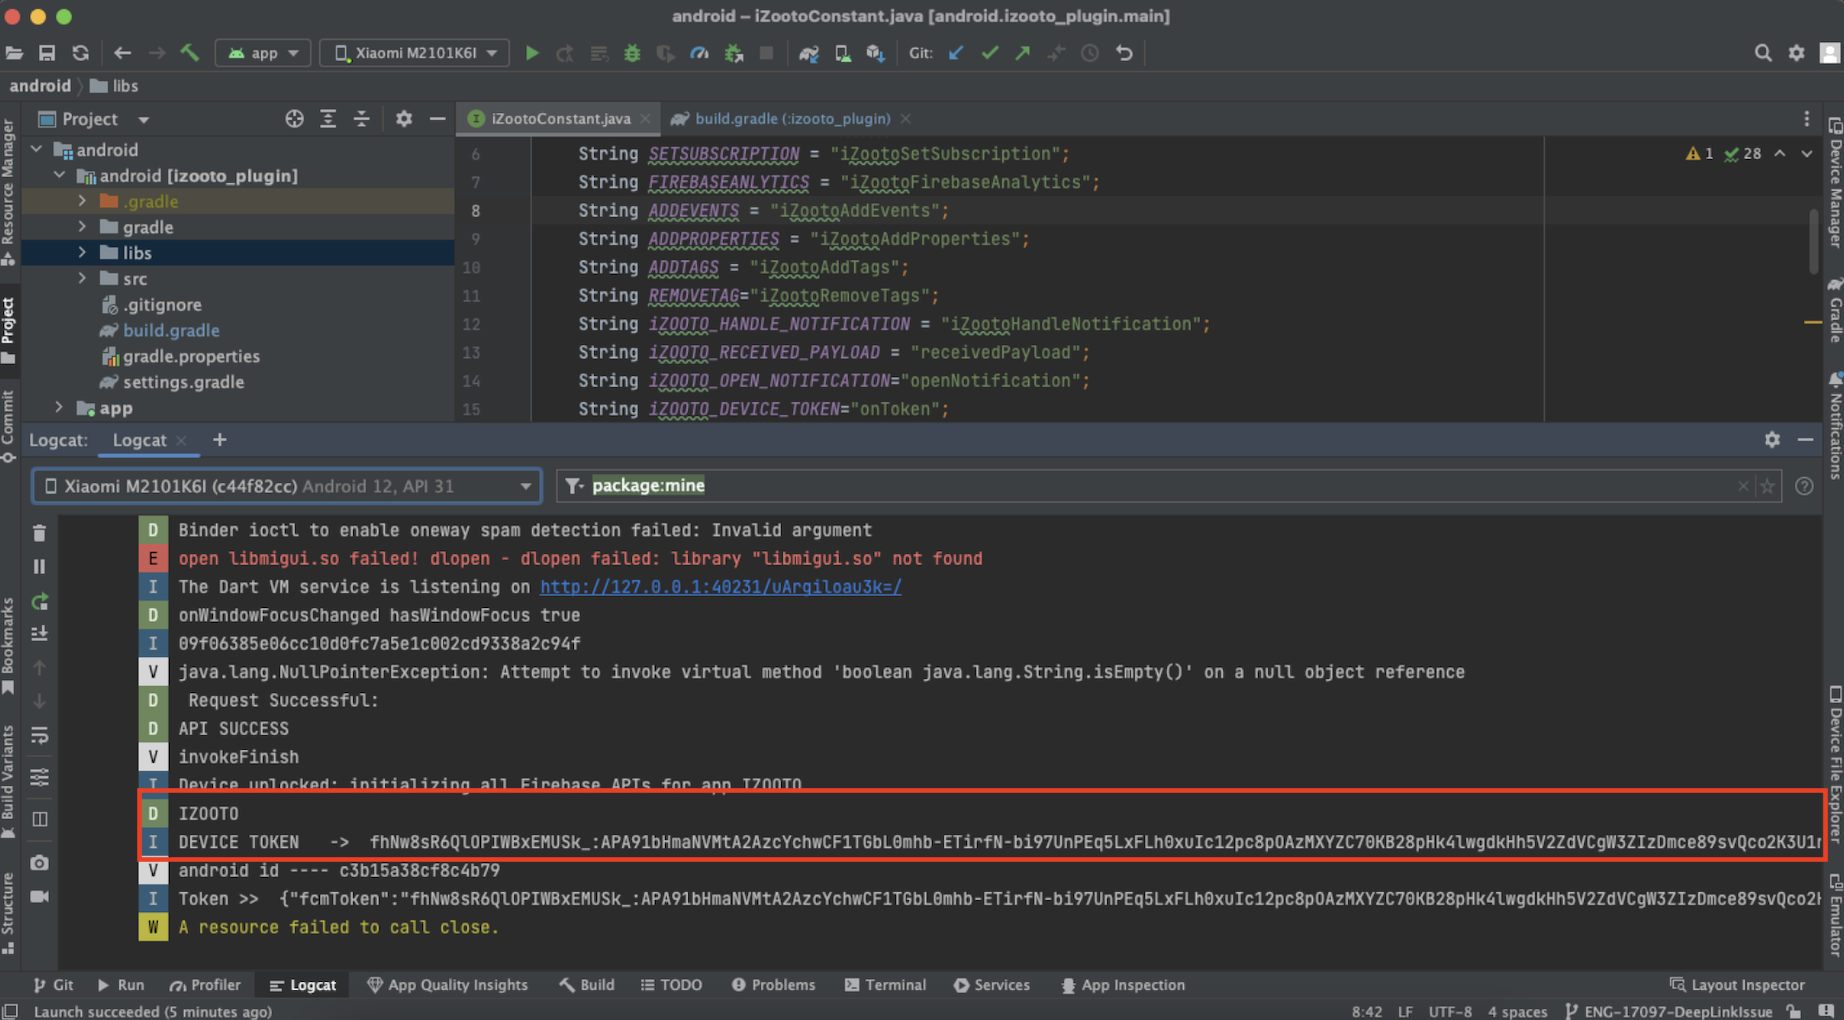
Getting the Device Token for Android Apps
Note!
If you are testing your app for Android 13 or above, you might need to click on Allow on the push permission prompt to get the Device Token.
iOS Apps
- Connect your test iOS to your computer.
- Within Xcode, confirm that you are able to see the connected device.
- Open Logcat inside Xcode, and install the app on your test device.
- As soon as the app is installed on your device and you click Allow on the push permission prompt (and if the implementation is correct), you will be able to see the Device Token for your device.
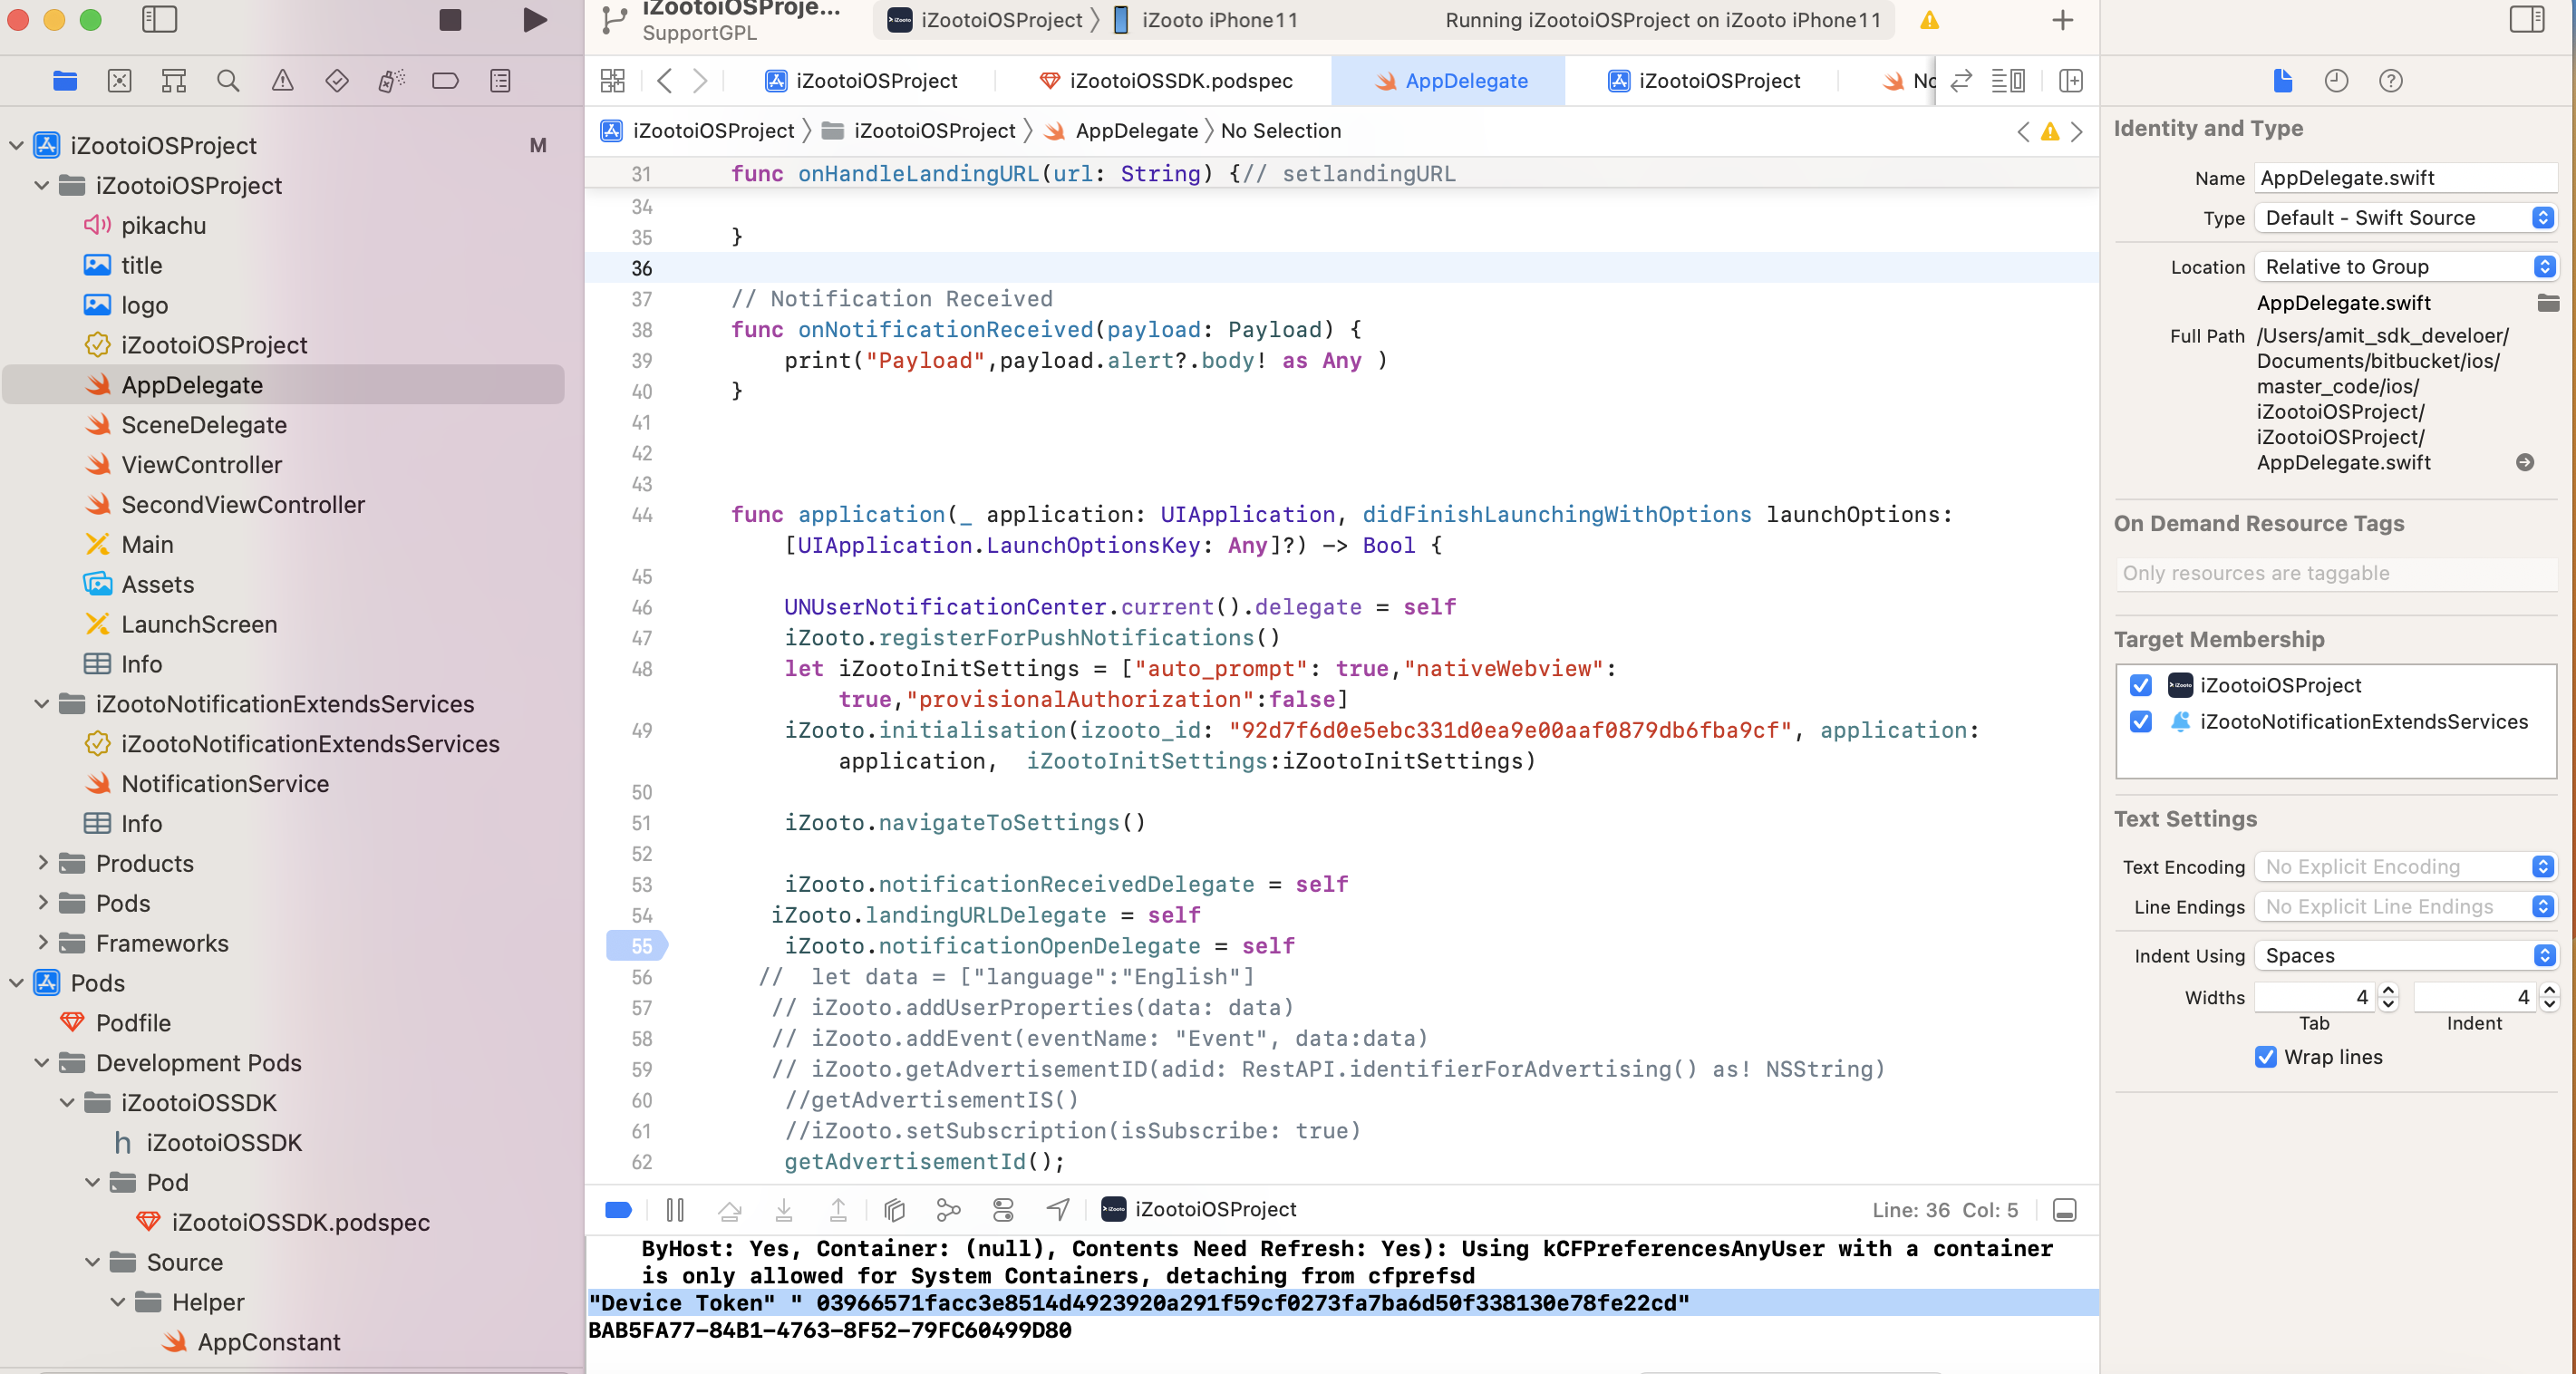
Getting the Device Token for iOS Apps
Step 2: Adding the Device Token to the iZooto Panel
Once you have the device token with you, follow the below steps to add it to the iZooto panel:
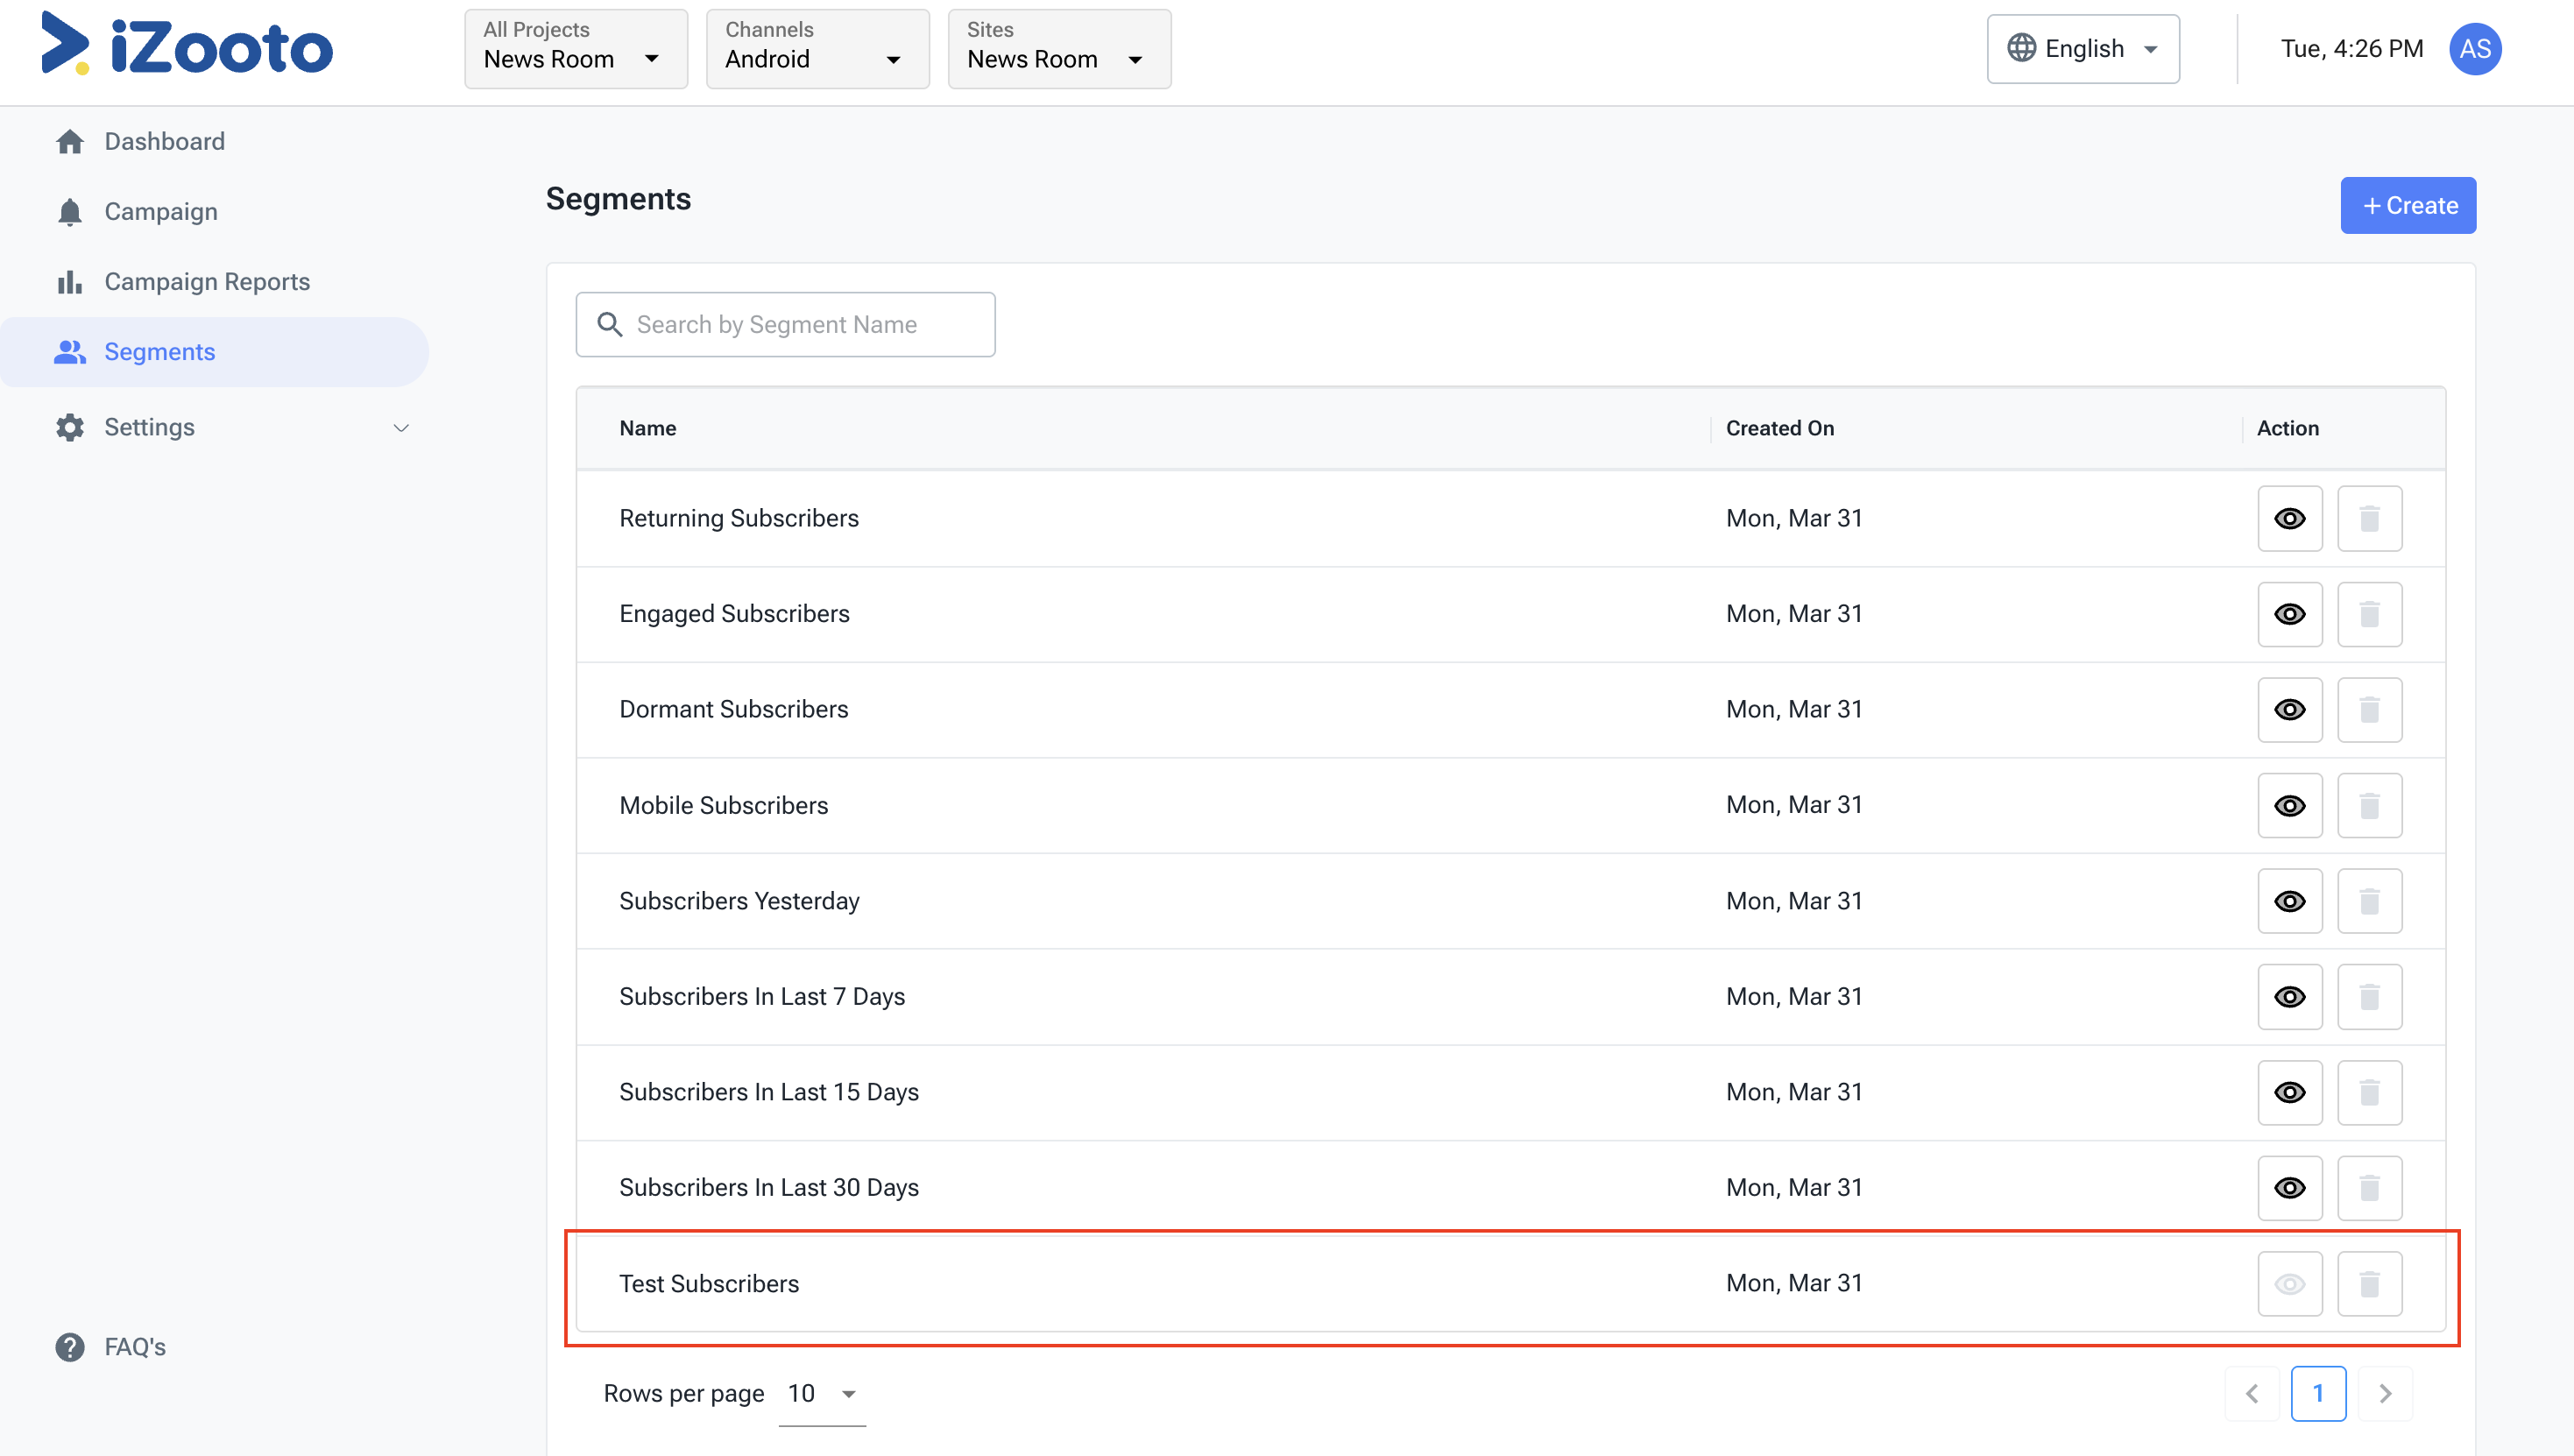
2.1 Navigate to Settings > Setup > Test Devices on the iZooto panel.
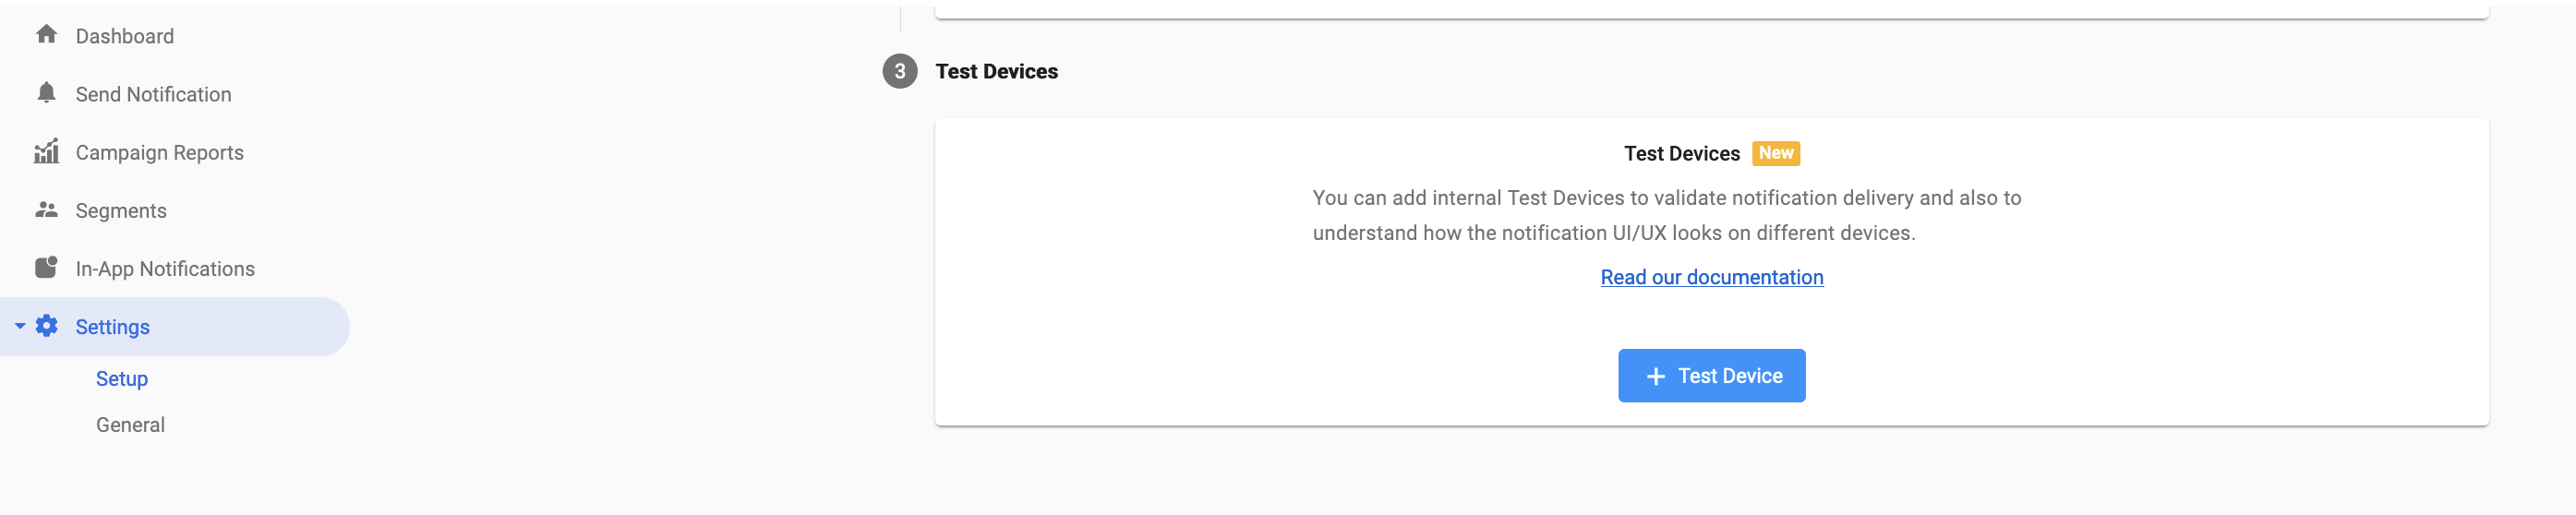
2.2 Click on + Test Device.
2.3 Add a unique Device Name that is easier for you to differentiate & identify and the Device Token that you got in Step 1.
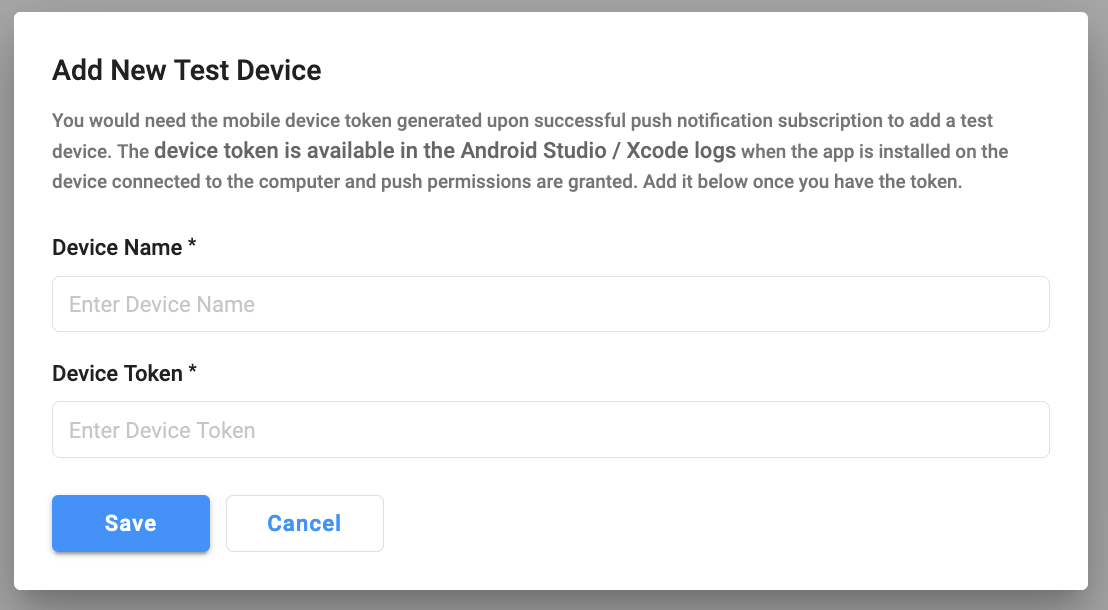
2.4 Click on Save.
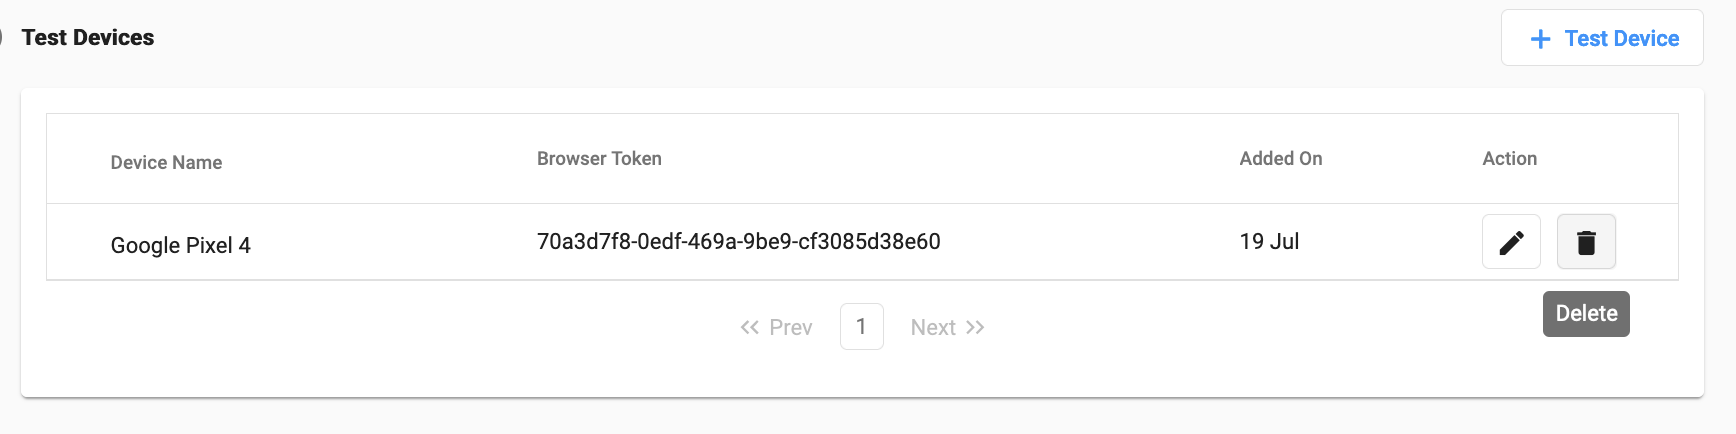
Once the device(s) is added successfully, you will be able to see them under the Test Devices section on the Settings > Setup page.
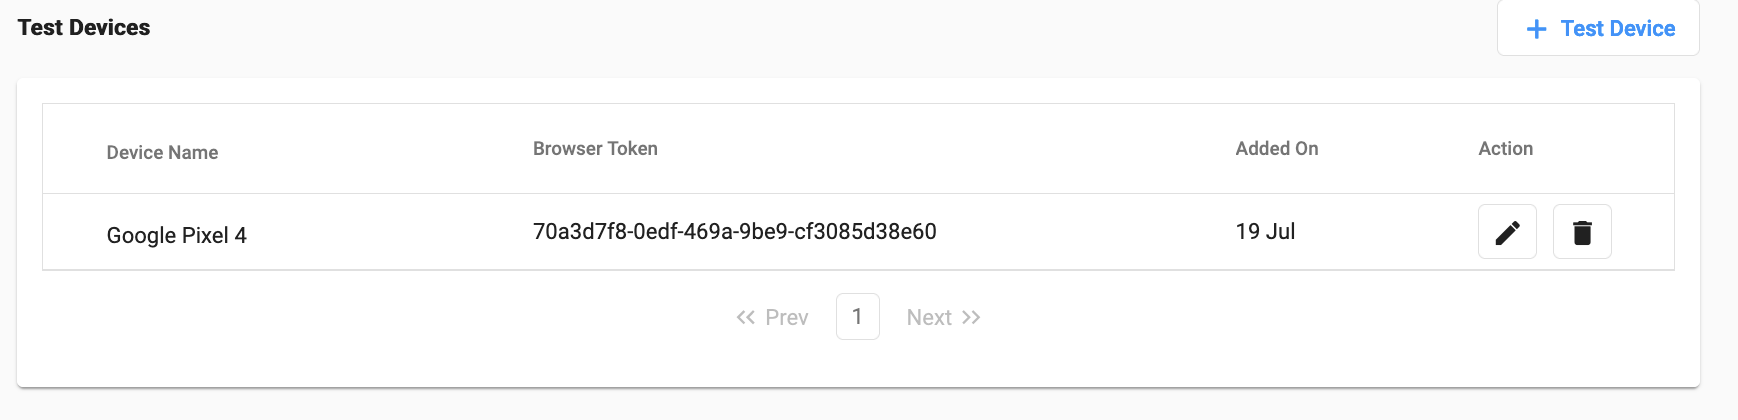
Note!
You can only add a maximum of 10 test devices for an app.
Sending a Notification to the Test Devices
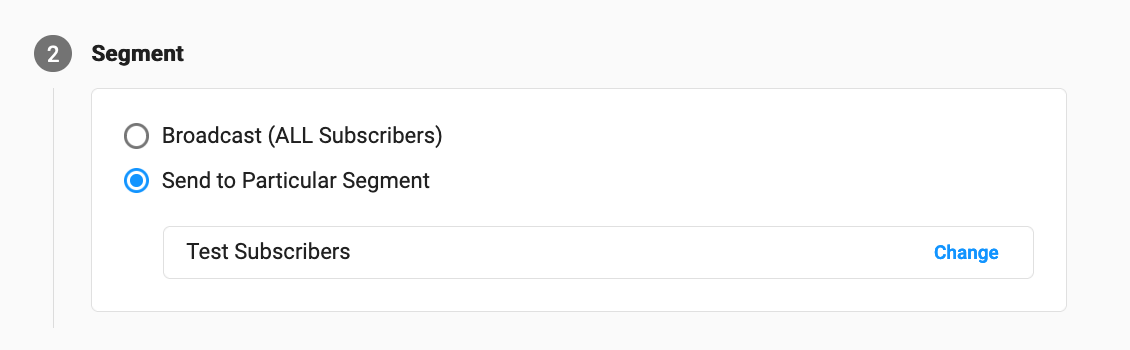
Once the test device(s) is added, a new Segment will be created containing this test device(s). The name of the segment will be Test Subscribers and can be found on the Segments page on the iZooto panel.
The only thing that needs to be done, to send a notification to the added test device(s), is to select this Test Subscribers segment while sending out a notification from the Send Notification page on the iZooto panel or using Rest APIs.
Done!
You have successfully added a test device(s) to the iZooto panel and sent a test notification.
Modifying Test Devices
You can either Edit or Delete the Test Device(s) added to the panel.
Click on the Edit icon to edit an existing Test Device. Note that you will only be able to edit the Device Name.
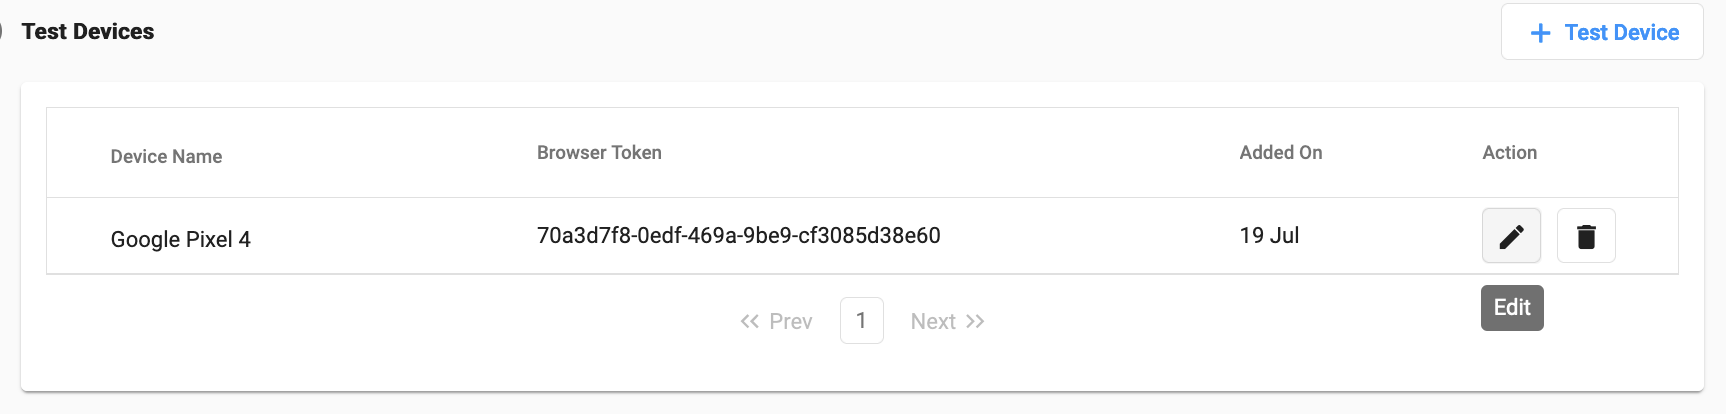
Click on the Delete icon to delete an existing Test Device.
Updated 8 months ago