Web Application Manifest
A web application manifest file is required to send iOS & iPadOS web push notifications
With iOS/iPadOS 16.4+, mobile web push notifications are available. However, a website must have a proper manifest file with the right properties set for notifications to work. This is a guide to understanding and implementing a web application manifest for your website.
What is a Web Application Manifest?
A web application manifest file is a JSON file that determines how your website looks and behaves once installed on a user's desktop or mobile device. It contains metadata such as your website's name, description, icon, colour scheme, etc.
You can use a tool like SimiCart to generate a manifest file quickly. Follow the guidelines below to fill in the required fields and ensure the file is named manifest.json when added to the root directory of your website.
A manifest file, for the purpose of sending mobile iOS/iPadOS web push notifications, should include:
- Display mode when the website is opened set to
standaloneorfullscreenfor iOS/iPadOS (required) - Icons to reference icons of several sizes (recommended) - This icon is added to the Home Screen of the device when the user installs the website on a desktop or mobile device.
- Start URL which opens when a user opens the installed website from the Home Screen of the device.
- Name which acts as the app name when added to the Home Screen of the device.
Refer to this guide from MDN for a full list of keys and more details.
Example manifest file:
{
  "display": "standalone",
  "start_url": "/",
  "name": "iZooto Test Website",
  "short_name": "iZooto Test",
  "icons": [
    {
      "src": "/icon.jpg",    // This can be a HTTPS URL as well
      "sizes": "512x512",
      "type": "image/jpg"
    },
    {
      "src": "/icon.png",    // This can be a HTTPS URL as well
      "sizes": "512x512",
      "type": "image/png"
    }
  ]
}
How do I add a Manifest File to My Website?
A manifest file needs to be served from the root, or top-level directory of a website and named manifest.json.
Once you have added the manifest file, be sure to also add a link tag to all the pages of your web app.
<link rel="manifest" href="manifest.json"/>
How do I add a Manifest File to My WordPress Website?
Depending on your current plugins, you may already have a manifest.json file. You will check if the existing file has all the entries mentioned above. End users will be able to subscribe to iOS/iPadOS web push once you have the manifest.json file with the correct properties (as shown above) and the file is uploaded to your server.
If the file does not already exist, you can create a new file named manifest.json, add the properties (as mentioned above) and host it to the root directory (top-level directory) of your website using any of the available file manager plugins.
Test iOS/iPadOS Web Push with the Manifest File
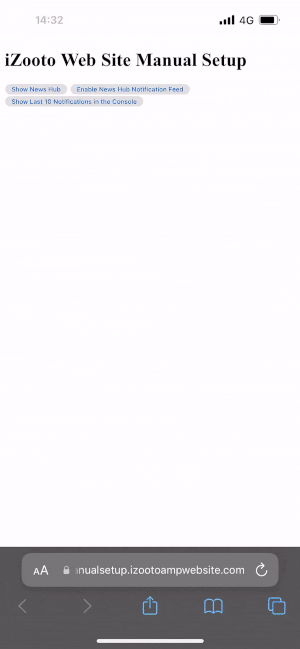
To test if you have successfully added a web application manifest, follow the following steps to subscribe to push notifications on an iOS/iPadOS device (with 16.4+):
- Ensure you have set up web push properly as mentioned in our web push setup guide.
- Open your website on a mobile device (iOS or iPadOS) that is updated to 16.4+.
- Click Share in the browser toolbar and select Add to Home Screen. For Safari and Edge, this is at the bottom of the screen. For Chrome, this is at the top of the screen, next to the address bar.
- Open the app that was just added to the home screen.
- Look for a subscription option and subscribe to notifications.
- A native push permission prompt will show up. Select Allow.
- Send a test web push notification through the dashboard or using REST API, and ensure you received it on your mobile device.
Add Website to Home Screen and Subscribe to Notifications
Updated almost 3 years ago