Create Playbook From Scratch
You can create Playbooks from scratch to suit your needs. It would comprise of a few steps, you would have to give your Playbook a Title and Description, define the Trigger and Goal, and create the Notifications.
Set the Playbook Title
Getting started with Playbooks is easy. You just have to follow these steps:
- Go to Playbooks Section in your iZooto account and click on the 'Create' button.
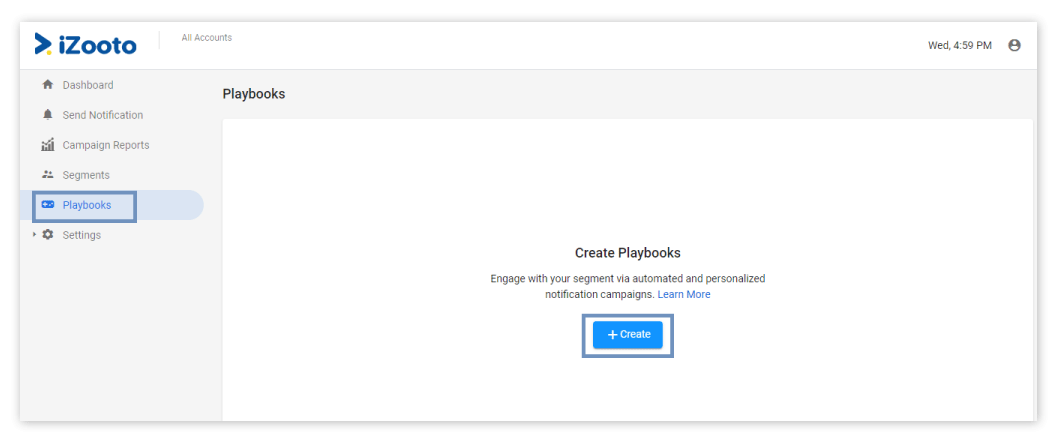
Create New Playbook
- Choose Template Start from scratch & click on "Create".
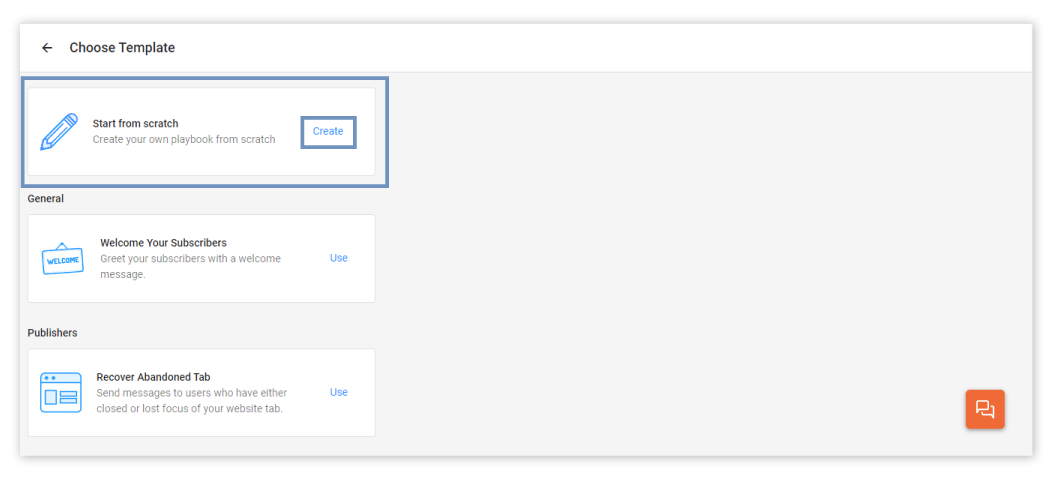
Click on Create your own
- Enter the Title for the playbook.
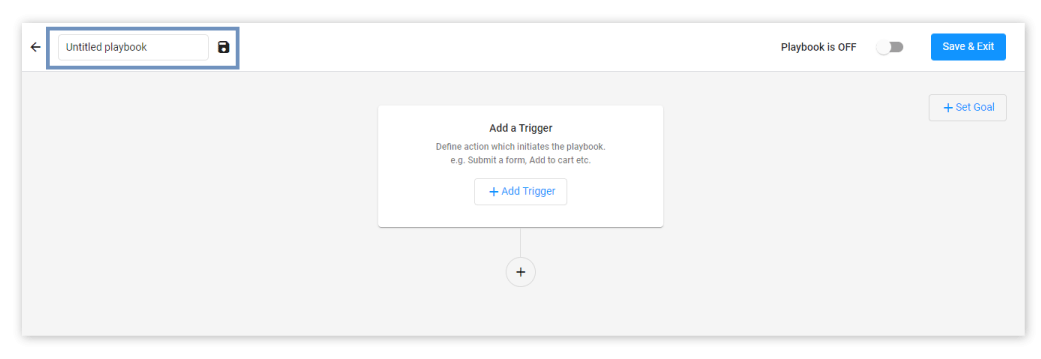
Enter Title and Description
While creating Playbooks you can edit the Title and Description but once you Save & Exit you can't make any changes to it.
Define Playbook Trigger and Goal
Once you have set the Title for your Playbook, the next step is to define the Trigger, Goal, and the Personalization Properties.
Personalization properties are used to personalize the notification content for every subscriber.
You might want to revisit the Playbook Overview page to understand Properties how all the playbook elements come together to make a Playbook work.
How to add the Trigger and Personalization Properties
Follow these steps to add the Trigger and define the Personalization Properties for your Playbook: -
- Define the activity that you want to make it act as a Trigger.
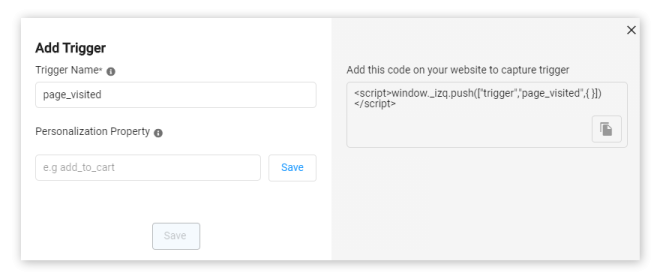
Enter the Trigger Name
- To define the Personalization Property you would have to enter the Property Name and once done, click on + Add New to add more.
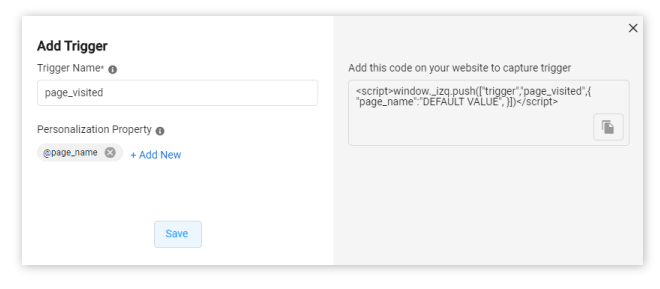
Enter Personalization properties
Note
Default Value for Properties would be used as the place holder text if the Playbook fails to fetch the Property value from your website.
Note
The playbook won't work if the trigger name exceeds 32 characters.
- Once you have defined the trigger and all the personalization properties, you would be able to see the final Playbook JS Trigger code that would go on your website. It looks like as follows:
<script> window._izq.push(["trigger", "product_viewed",
{"product_name":"product name",
"product_price":"product price",
"product_image":"product image",
"product_url":"product url"
}]) </script>
How to set the Goal
Steps to set up the Goal: -
- Define the activity that would serve as a Goal by clicking on 'Set Goal'. It need not contain any personalization property.


Add Goal
- Once you have defined the goal, you would be able to see the final Playbook JS Goal code that would go on your website. It looks like as follows:
<script> window._izq.push([
"trigger", "product_addedtocart", {}
]) </script>
Create Playbook Notifications
Create your playbook notifications and define the sequence.
Steps to create your notifications: -
- Click on Add New button.
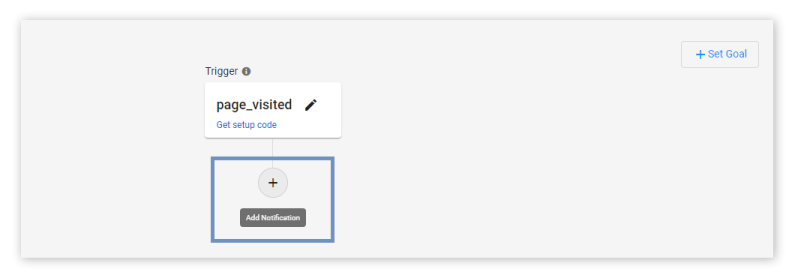
Click on Add New button to create notification
- Enter the content and landing URL.
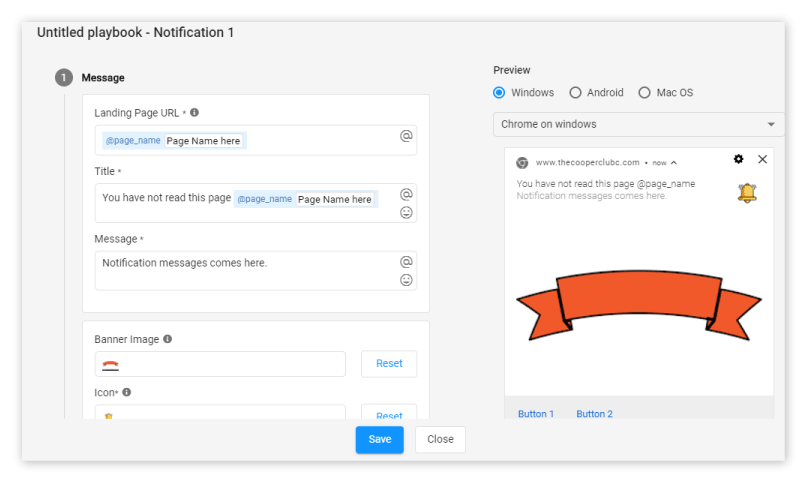
Create notification
- Time your notification.
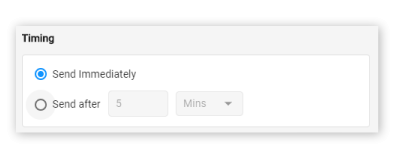
Note
Under the Advanced section, you can set a large image, button(s) and add UTM parameters for the notification.
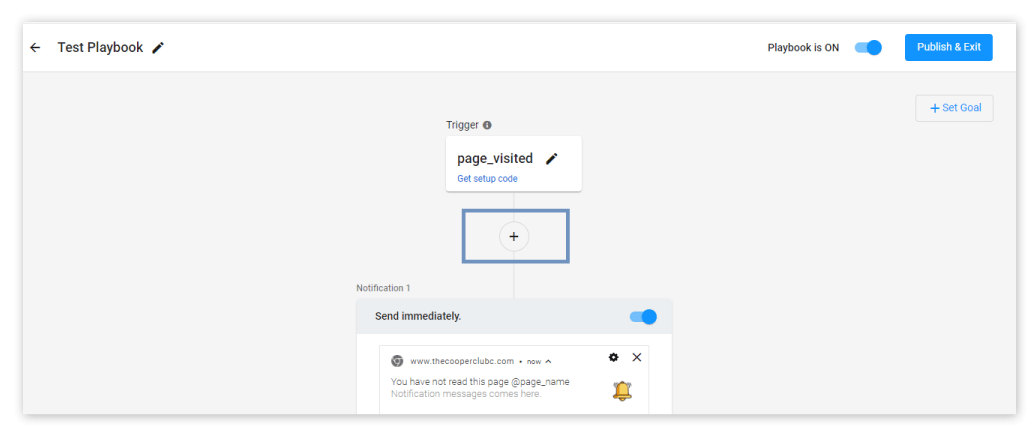
- Click on the Plus (+) to add more notifications.
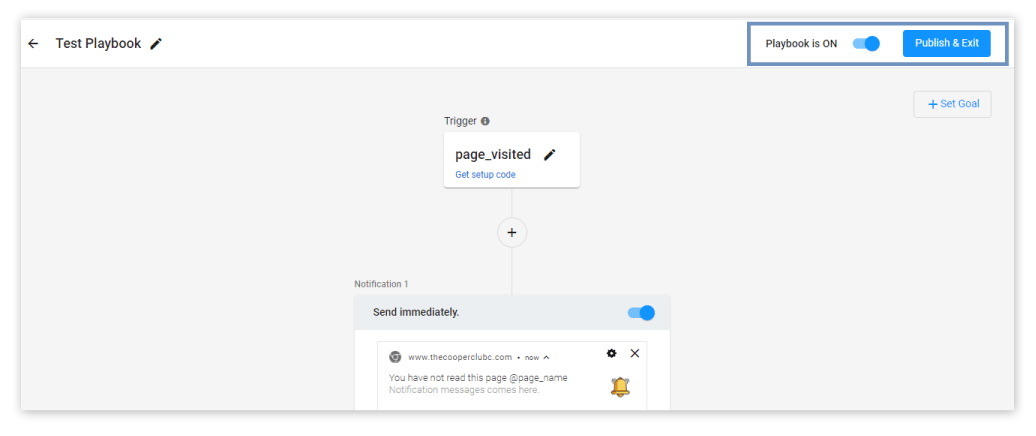
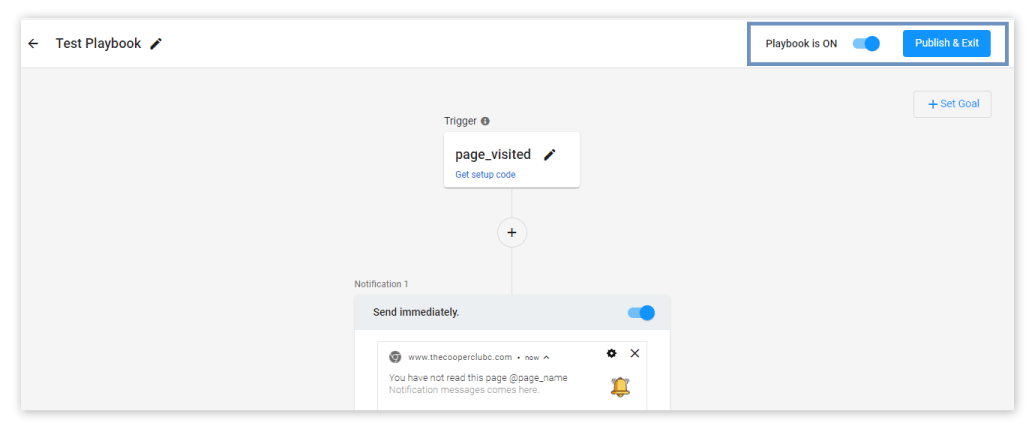
- Once you have created all the notifications, toggle on the Playbook and click on Publish & Exit.
Playbook Overview
The overview section gives you a glimpse of the flow of the playbook. You can still edit the notification(s) before you save your playbook.
Once a Playbook is saved you can't edit the Trigger and Goal but can modify the notifications.
Edit Notifications
You can edit the notifications in this section itself. Here are the things you can do with your notifications: -
- Toggle individual notification on or off.
You can click on the toggle next to the notification to turn it on or off.
Notification toggle
- Edit or delete an existing notification.
Hover over the notification you want to work on and 'edit and delete icons' will show up. You can click on either of these icons and edit or delete the notification.
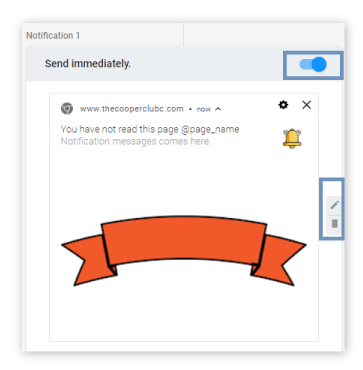
Edit of delete your notification
How to Activate the Playbook
- Click on Get setup code, copy the trigger code, and the goal code.

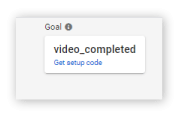
- Paste and save both the Trigger and Goal code on your website's HTML to activate the playbook.
Note
Place the trigger and goal code with the event that defines the trigger and goal respectively.
For example, let's say the Trigger event for your Playbook is product_viewed and Goal event is product_purchased. In this case, you would have to place the Trigger code along with the event that indicates that your product has been viewed. Likewise, the Goal code needs to be placed next to the event that indicates that the viewed product has been purchased.
Updated almost 3 years ago
