Campaign Editor
A facelift has been given to the interface of the campaign editor. This brand new UI has a storyline view and divides the task of creating a campaign in 3 distinct phases:
- Content addition/edit
- Audience selection
- Time of Push
Additionally, a campaign name has been introduced too. This will be the default ‘campaign value’ under UTM parameters helping you to identify a particular campaign in Google Analytics. For instance - Abandoned cart retargeting.
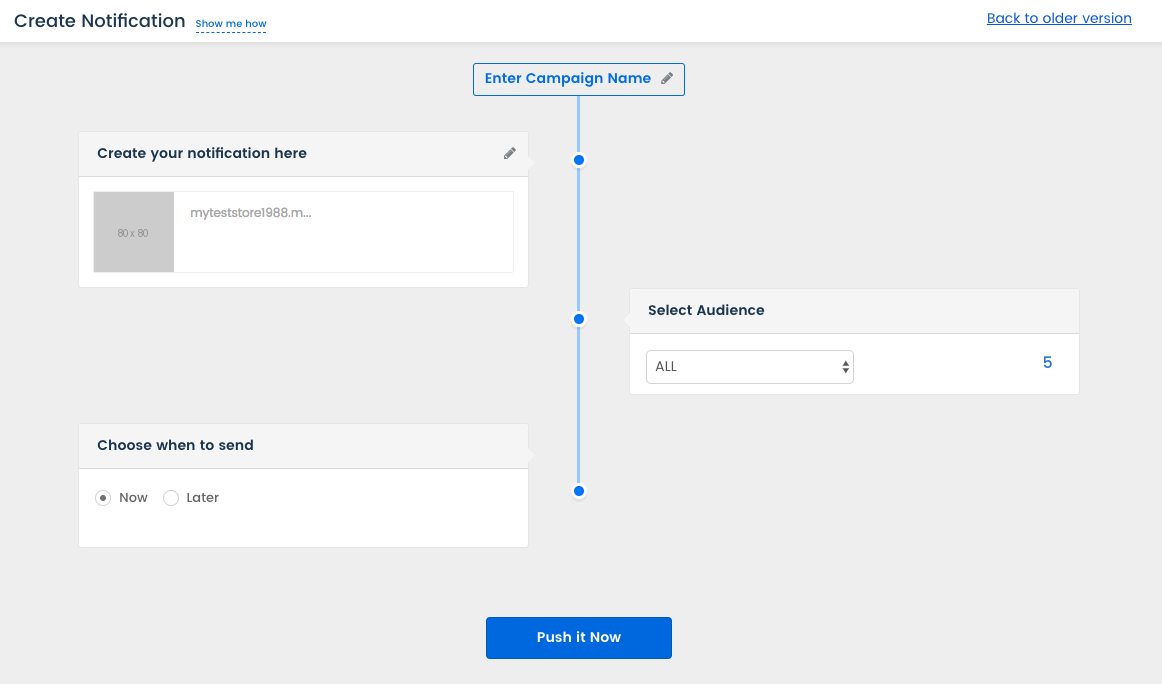
Campaign Name
Enter a name of the campaign and ensure that it's a unique name so that it can be differentiated on Google Analytics.
Note: This is a mandatory field.

Campaign name should be within 128 characters. However, only the first 40 characters would be considered for the campaign name under UTM Parameters.
Campaign name in English only would be considered for UTM. For any other language, the default value shall be passed unless any other value (in English) is manually typed.
Emojis and special characters will get replaced with a ‘space’ for the campaign name.
Notification Content
Click on the ‘pencil icon’ to open the editing window.
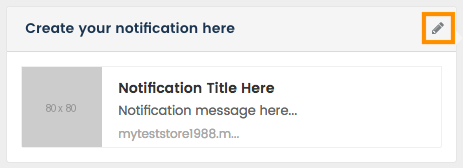
Click on the ‘pencil icons’ to enter the title and message for the notification along with the icon (we recommend your company logo).

The notification icon can be chosen either from the in-built icon manager or can be uploaded via an HTTPS URL or a file upload. Click on ‘Done’ after adding.
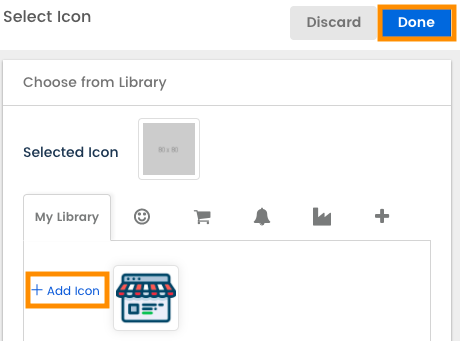
There is no character limit on the title and message. The recommended limit is 25 characters for the title and 56 for the message (without any banner image or CTA). However, the final and look of the notification would depend on the device and browser.
Maximum allowed size for the icon image upload is 20KB while the dimensions are: 100 x 100
Adding Banner Image, CTA and Landing URL
A banner image too can be inserted via an HTTPS URL or a file upload. We recommend that you use the URL option for better optimization of images.

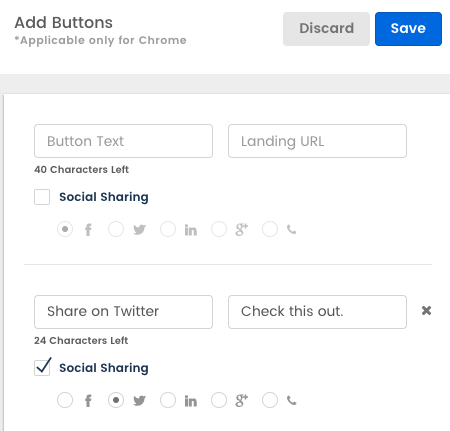
Additionally, buttons (CTAs) can be added on the notification by clicking on ‘Manage Buttons’. You can add up to 2 buttons and/or use one of them for sharing on social media.
The landing page URL needs to be added next. Enter the URL without the UTM parameters as they would get automatically appended to the URL from the next step under UTM and Notification Expiry.

Maximum allowed size for the banner image upload is 100KB while the dimensions are: 360 x 240
The text on the CTAs needs to be within 40 characters.
Banner images are supported from Chrome 56 onwards on Android and Windows (on MAC, banner images are not supported from Chrome 59 onwards).
UTM and Notification Expiry
By default, the Source and Medium would have the default values of iZooto and browser_push respectively. The Campaign by default will pick the campaign name that you add at the start of the notification creation process. All parameters should be passed in English only without any special characters (including emojis).
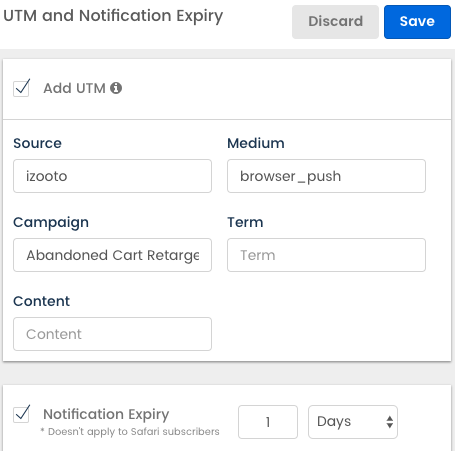
By default, the notification expiry would be set for 1 day. However, this can be further reduced to hours and even minutes. This is extremely handy to ensure that a subscriber doesn’t get spammed when he/she is not connected to the internet for a specific duration.
Specifications
- If UTM parameters are disabled, no values shall be passed unless the landing URL itself has those values
- If UTM parameters are enabled but no changes are done, default values shall be passed
- If UTM parameters are enabled while the landing URL has a different set of UTMs, the latter would be passed
- If UTM parameters are enabled and the default values are edited, these would get passed in spite of the landing URL having a different set of UTMs
- Once the notification is ready, click on ‘Send Test’ to see how the actual notification would look like (for Desktop Chrome only).
Audience Selection
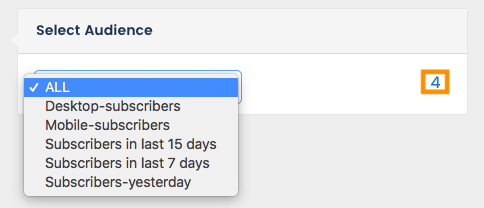
The audience segment to whom you wish to push the campaign needs to be selected here. Choose the correct audience from the drop-down menu. The current count for each audience would be shown too.
Push Now
When the option ‘Now’ is selected, the campaign gets pushed out immediately.

A campaign can be scheduled later for a particular date and time, multiple date and time or set to recur every day, week or month.
One Time
The campaign would get pushed just once on a particular date and time.

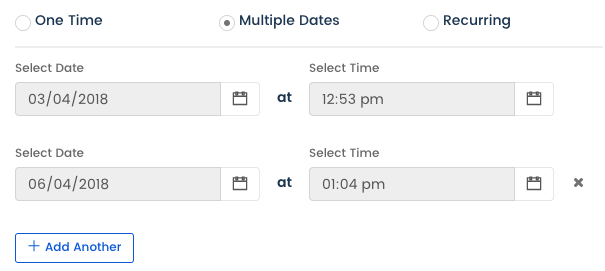
Multiple Dates
The campaign would get pushed more than once on the specified date and time mentioned.
Recurring
The campaign would get pushed at regular intervals either daily, weekly or monthly at the specified time. By default, the end time for these campaigns would be set to ‘Never End’.
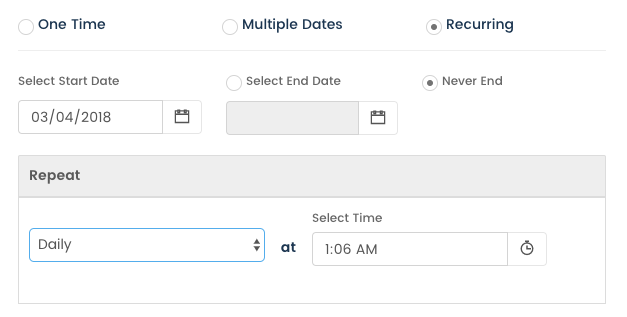
For weekly campaigns, the day of the week needs to be chosen.
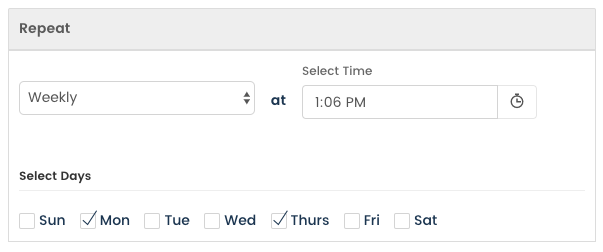
And for the monthly recurring campaigns, the specific dates on which the campaign should run needs to be selected.
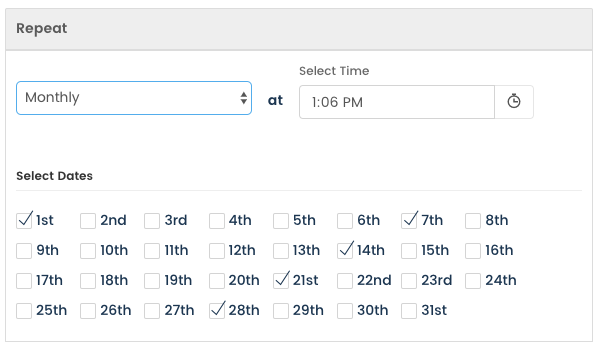
Once the appropriate time is selected, click on ‘Done’ and finally on the button ‘Schedule.’
Updated about 6 years ago
